Export from Revit

Step 1: Apply materials

Add Revit material to differentiate different parts.

Meshroom VR uses the different materials applied by Revit to your model to identify the different parts. On each part, you will be able to drag’n’drop a Weviz material.


Be sure that each part of your 3D project is associated with a material.

To apply your material:

Make sure to be in 3D view > Preview

Go to the Modify tab.

Click on the paint/material icon then on Paint.

Once the Material window appears, select the required part to apply the material. Then, click on the right material to assign it.

*It is those colors and textures that Meshroom VR will

Step 2: OBJ EXPORT PLUGIN


Export your 3D project correctly thanks to OBJ format.

Before to export your 3D project, you have to add

Go to www.inglegreen.com/revit_app.html

Click on Download the ZIP File according to your software version.

Once donwloading, copy/paste files in OS (C:) or Data(D:) /ProgramData/Autodesk/Revit/addins/2019

Launch Revit again.

Step 3: FORMAT .OBJ

Export only what you need!

Remove all useless objects from your export. If you want to validate the exterior shape of a design, it would be useless to import all the machinery hidden inside!

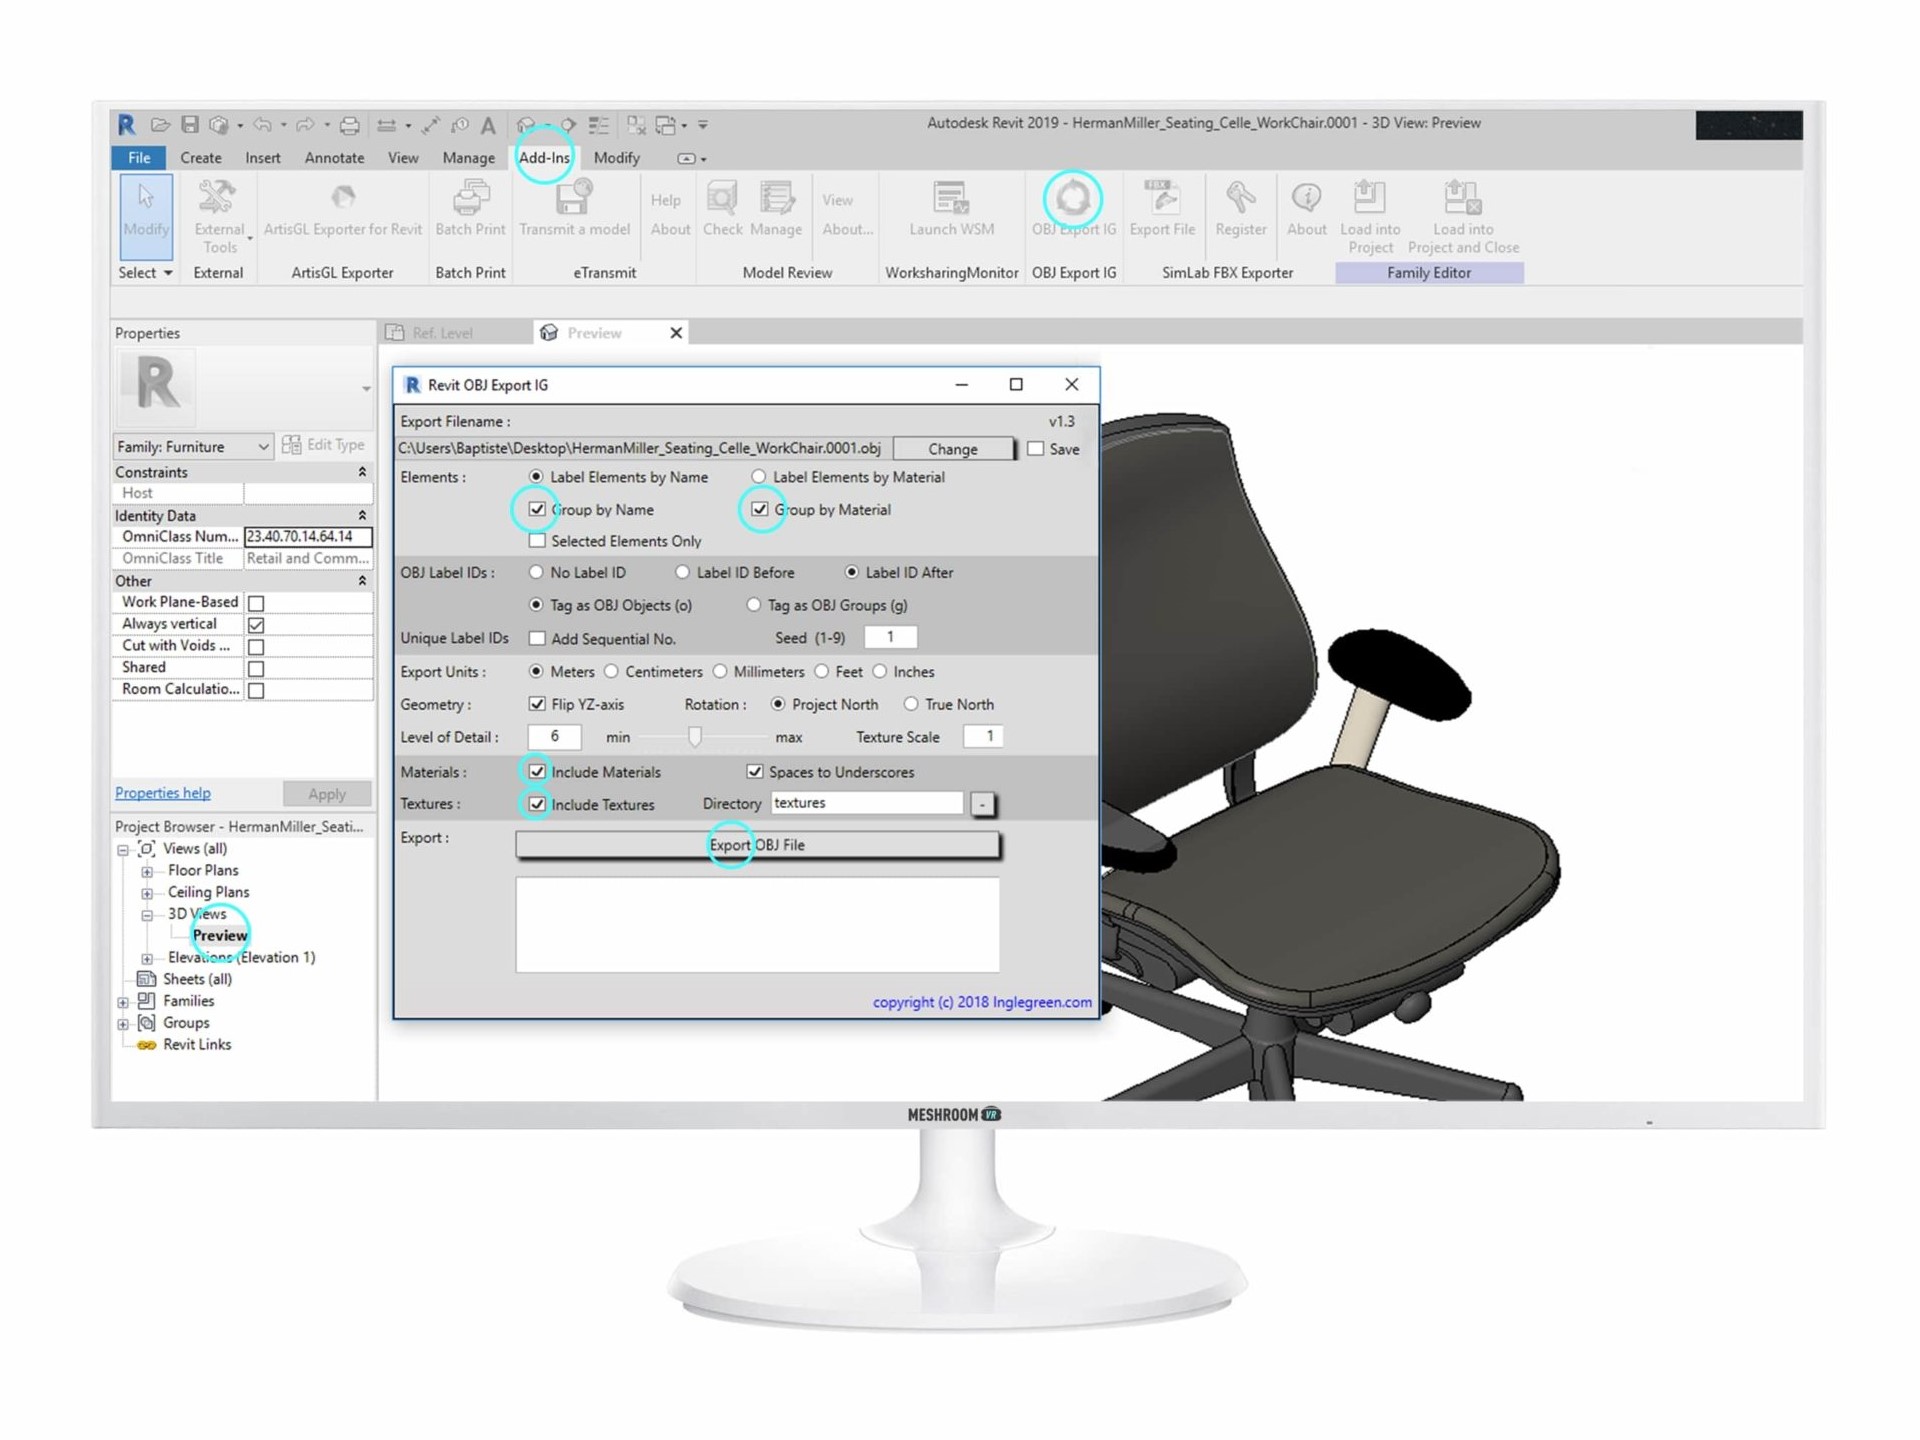
To export your 3D project:

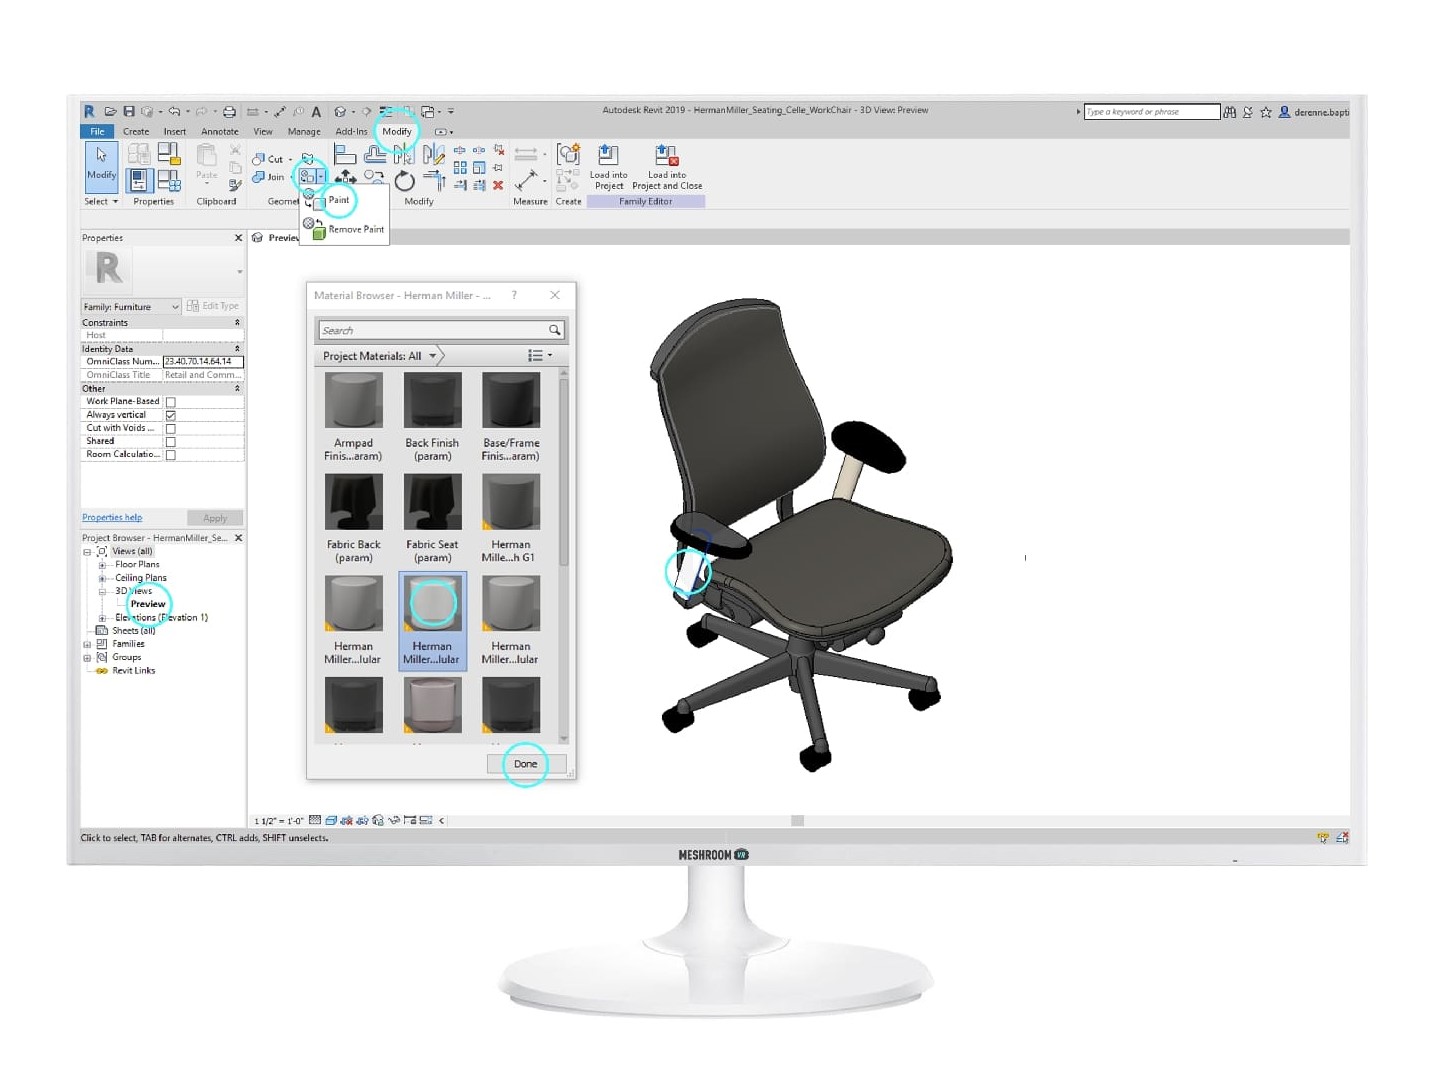
(Select only surfaces you want to export)

Go to the Add-ins tab.

Click on the OBJ EXPORT IG icon.

In the Revit OBJ Export IG window, check Group by Name, Group by material, Include materials and Include Textures.

Then click on Export OBJ File.

Start typing and press Enter to search

Shopping Cart

No products in the cart.